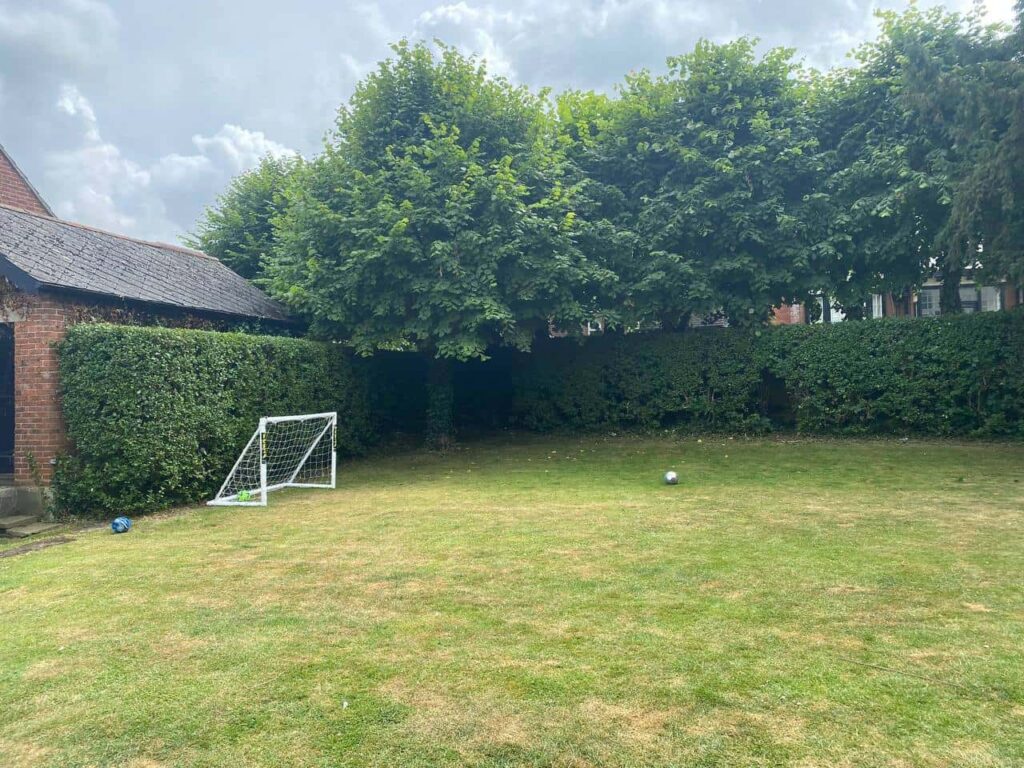
Introduction: At Linton Tree Surgeons, we understand that a well-maintained hedge not only enhances the aesthetics of your garden but also contributes to its overall health and longevity. Hedge cutting is crucial to garden maintenance, ensuring your hedges remain lush, healthy, and attractive. Here’s a comprehensive guide to the essential steps for effective hedge-cutting and fostering robust growth.
1. Understand the Best Time to Cut
The timing of hedge cutting can significantly impact the health of your plants. Different types of hedges have varying requirements:
- Deciduous Hedges: For hedges that lose their leaves in winter, such as beech or hornbeam, the best time to cut is during late winter or early spring, before new growth begins. This timing reduces stress on the plants and encourages vigorous new growth.
- Evergreen Hedges: Evergreen hedges, such as leylandii or privet, should be pruned in late summer or early autumn. Avoid cutting too late in the season to prevent damage from frost.
2. Choose the Right Tools
Using the appropriate tools is essential for precise and effective hedge cutting:
- Hedge Trimmers: Manual or electric hedge trimmers are suitable for smaller hedges. A petrol-powered hedge trimmer can provide the power and reach needed for larger hedges.
- Pruning Shears: Pruning shears are ideal for detailed work and smaller branches. They allow for more controlled cutting and minimise damage to the plant.
3. Prepare Your Hedge
Before cutting, assess the condition of your hedge and prepare it for pruning:
- Inspect for Pests and Diseases: Check for any signs of pests or diseases. Address these issues before cutting to prevent spreading and ensure the health of your hedge.
- Clear the Area: Ensure the area around the hedge is clear of obstacles such as garden furniture or debris. This provides ample space to work and prevents damage to both your tools and the hedge.
4. Follow Proper Cutting Techniques
Correct cutting techniques are vital for promoting healthy growth and maintaining the shape of your hedge:
- Shape the Hedge: Start by trimming the sides and then the top. Aim to maintain a slightly wider base and narrower top. This shape allows light to reach the lower parts of the hedge and promotes even growth.
- Avoid Cutting Too Much: Avoid removing more than one-third of the hedge’s height at a time. Excessive cutting can stress the plant and lead to poor growth.
5. Handle Waste Properly
Proper disposal of hedge trimmings is important for both garden cleanliness and environmental responsibility:
- Chop and Compost: If the trimmings are small, you can chop them up and add them to your compost heap. This provides a valuable resource for your garden.
- Green Waste Collection: Consider using a green waste collection service or taking the trimmings to a local recycling centre for larger branches and quantities of waste.
6. Monitor and Maintain
After cutting, continue to monitor your hedge to ensure it remains healthy:
- Watering: Ensure your hedge receives adequate water, especially during dry spells. Well-watered plants are better able to recover from pruning.
- Fertilisation: Apply a balanced fertiliser in the spring to support new growth and overall health.
7. Regular Maintenance
Regular maintenance is key to a thriving hedge:
- Annual Pruning: Aim to prune your hedge at least once a year, ideally in the recommended season for your specific type of hedge.
- Adjust as Needed: Monitor the growth of your hedge and adjust your pruning schedule and techniques as needed to accommodate changes in growth patterns or health.
Conclusion: Effective hedge cutting is essential to garden care, ensuring your hedges remain healthy and visually appealing. By understanding the best time to cut, using the right tools, following proper techniques, and maintaining your hedge, you can foster robust growth and enhance the beauty of your outdoor space.
Call us on: 01223 919 495
Click here to find out more about Linton Tree Surgeons
Click here to complete our contact form and see how we can help you with your tree’s needs.

